

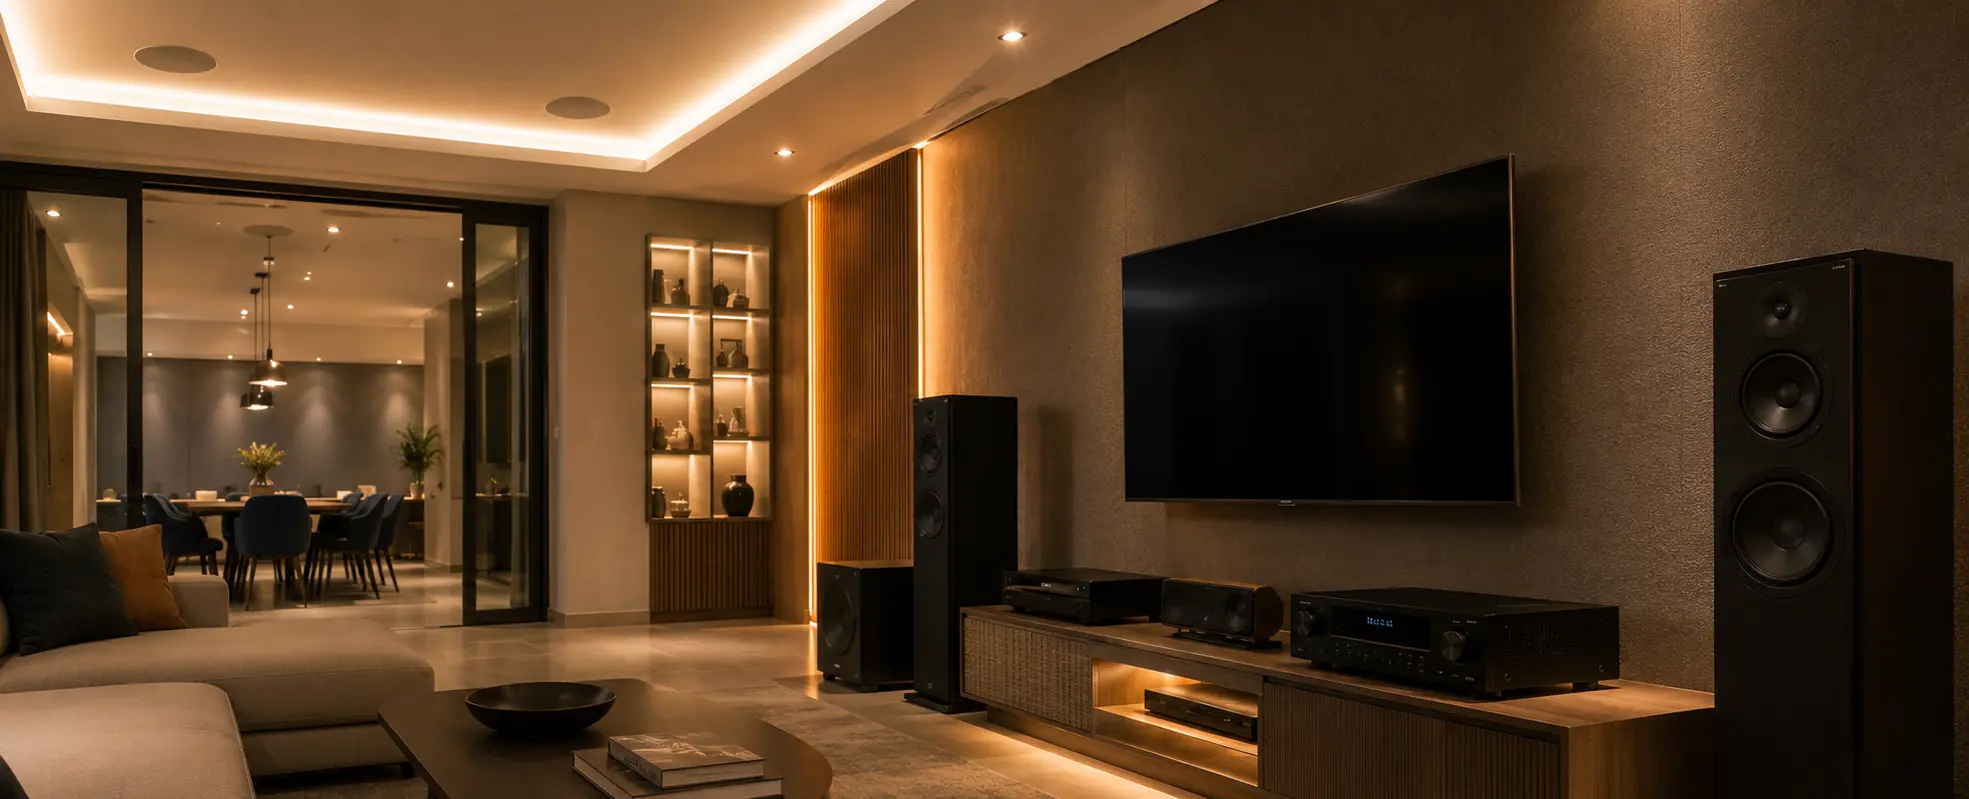
Most home audio advice tells you what to buy. Very little of it tells you what actually happens on site - which decisions get made when, what has to be finalised before the ceiling closes, and where projects go wrong.
That's what this covers. Whether it's audio in three rooms or across a whole house, the installation follows the same sequence, and knowing it makes you a considerably better client.
What's the Overall Sequence?
| Stage | When | What Happens |
|---|---|---|
| 1. Zone planning | Design stage | Deciding which rooms get audio and how they group |
| 2. Speaker selection | Design stage | Type per room, positions marked on drawings |
| 3. Cabling | Before plaster | Speaker cable, control cable, rack feed |
| 4. Ceiling coordination | Before ceiling closes | Cutouts marked and cut |
| 5. Rack build | After civil work | Amplification, sources, network |
| 6. Speaker fitting | After finishing | Speakers mounted, grilles fitted or plastered over |
| 7. Commissioning | Before handover | Levels, zones, control, testing |
| 8. Handover | Completion | Walkthrough, documentation |
Stages 1 to 4 are the ones that can't be redone. Everything after is recoverable.
Stage 1 - Zone Planning
A zone is any area that plays independently. Your bedroom is a zone. The living and dining area might be one zone or two.
The questions that get answered here:
Which rooms need audio at all? Not every room does, and paying for a room nobody listens in is a common waste.
Should adjacent spaces be one zone or two? Living and dining are often better as one - people move between them and expect continuity. A bedroom next to a study should be separate.
Where do people actually listen? A kitchen gets used differently from a formal drawing room. It affects both speaker type and how loud the zone needs to go.
How many zones can the amplifier handle? Zone count drives amplifier channels, which drives cost. Deciding this late usually means paying for a bigger amp than planned.
A typical residential zone plan:
| Zone | Common approach |
|---|---|
| Living / dining | One or two zones, in-ceiling or architectural |
| Master bedroom | Independent zone, low output |
| Kitchen | Independent, in-ceiling, moisture-tolerant |
| Study/home office | Independent |
| Terrace/garden | Weather-rated, separate zone |
| Bathroom | Optional, moisture-rated |
| Home theatre | Separate system, not part of the multi-room zones |
That last point matters. A home theatre is its own system with its own processing. Multi-room audio is a different thing running alongside it.
Stage 2 - Speaker Selection and Positions
Type per room, and exactly where each one goes.
Type follows the room, not a preference. In-ceiling suits most whole-home zones. In-wall works where ceiling height or slab construction rules out ceiling mounting. Invisible plaster-in speakers suit rooms where the interior designer won't accept a grille. Outdoor zones need weather-rated units.
Our guide comparing architectural and tower speakers covers the trade-offs, and hidden speakers for luxury homes covers the invisible options.
Positions go on the reflected ceiling plan. Not decided on site. Speaker positions have to coordinate with light fittings, air-conditioning grilles, sprinklers, and fans - all of which are competing for the same ceiling. Deciding this on drawings avoids the situation where a speaker cutout lands where a downlight was supposed to go.
For a home theatre specifically, positions follow placement recommendations rather than convenience - our speaker placement guide covers that in detail.
Stage 3 - Cabling
The stage that determines what's possible for the life of the house.
What runs where:
- Speaker cable from the rack location to every speaker position
- Control cable or network cable to keypads and any wall interfaces
- Network to the rack
- Power at the rack location, on a dedicated circuit if the system is substantial
Practical points that get missed:
Run cable to positions you're unsure about. A capped cable in a ceiling costs very little; adding one later means opening the ceiling.
Leave service loops at both ends - enough slack to reposition a speaker by a foot without re-pulling cable.
Label both ends. On a twelve-zone house, this saves a full day at commissioning.
Keep speaker cable away from mains runs where possible, and cross at right angles where they must meet.
Our guide to KNX cable covers the control side of the same principle.
Stage 4 - Ceiling Coordination
This is where most Indian residential audio projects go wrong, and it's entirely avoidable.
The false ceiling contractor works to a drawing. If speaker positions aren't on that drawing, the ceiling gets built and closed, and speaker cutouts then have to be made wherever they can be - usually not where they should be.
What needs to happen:
Speaker positions marked on the reflected ceiling plan, coordinated with lighting and HVAC before fabrication begins.
Cutouts made during ceiling work, not after finishing. Cutting a plastered, painted ceiling means dust through a finished house and a patch that's visible if it isn't done well.
Backing support where the ceiling material needs it, particularly for heavier speakers.
For invisible plaster-in speakers, panels installed before skim coat. This is a hard deadline - once the ceiling is plastered, the option is gone.
Stage 5 - Rack Build
The rack holds amplification, sources, network equipment, and control.
Location matters more than people expect. It needs ventilation, power, network, and reasonable access for service. A sealed cupboard with no airflow is the most common mistake - amplifiers generate heat and shut down when they can't lose it.
What typically goes in:
Multi-zone amplifier sized to zone count. Streaming sources - TrueAudio is common for multi-room, and DENON or Marantz where a home theatre shares the rack. Network switch. Control interface bridging audio to the KNX system.
A utility room, a dedicated AV cupboard with a vented door, or a ventilated section of a wardrobe all work. A sealed niche under a staircase does not.
Our AV receiver guide covers the theatre side of amplification.
Stage 6 - Speaker Fitting
After painting and finishing, the speakers go in.
Grilles are paint-matched where they're visible. For invisible speakers, this stage happened earlier - the panels went in before plaster, and there's nothing to fit now.
Timing note: speakers should go in after painting, not before. Paint overspray on a speaker grille, or driver, is difficult to reverse.
Stage 7 - Commissioning
Where a set of installed speakers becomes a system.
Level matching. Each zone set so the volume control means the same thing everywhere. Without this, one room is uncomfortably loud at the same setting where another is barely audible.
Zone configuration. Naming, grouping, and deciding which zones can be linked. "Ground floor" as a group is more useful than selecting four zones individually.
Control integration. Audio brought into the KNX scene logic so a lighting scene can start music, and a "Leave Home" scene mutes everything.
Source setup. Streaming accounts, favourites, and default volumes per zone.
Testing every zone. Sounds obvious. It's also where labelling errors from Stage 3 surface - a zone playing in the wrong room is almost always a cable that wasn't labelled.
Stage 8 - Handover
A walkthrough with whoever will actually use it. Often not the person who commissioned the project. If the household can't operate it, the system doesn't get used.
Documentation - zone list, rack contents, cable schedule, control configuration.
Support terms in writing, and what an AMC covers if there is one.
How Long Does It Take?
| Stage | Typical duration |
|---|---|
| Zone planning and design | 1–2 weeks, alongside other design |
| Cabling | 3–7 days, alongside electrical work |
| Ceiling coordination | Concurrent with false ceiling work |
| Rack build | 2–3 days |
| Speaker fitting | 1–3 days |
| Commissioning | 2–4 days depending on zone count |
Cabling and ceiling work run inside the construction programme rather than adding to it. The stages that add time at the end are the rack, fitting, and commissioning - typically a week to ten days for a multi-zone home.
What Does It Cost?
| Scope | Approx. Cost |
|---|---|
| Single zone, in-ceiling pair | ₹35,000 – ₹1,20,000 |
| 3–5 zone multi-room system | ₹1,50,000 – ₹6,00,000 |
| Whole-home, 6–10 zones | ₹4,00,000 – ₹15,00,000 |
| Invisible speakers, per room | ₹80,000 – ₹2,00,000 |
Indicative estimates covering speakers, amplification, cabling, installation and commissioning. Home theatre is a separate scope - see our home theatre cost guide.
Can This Be Done in a Finished Home?
Partly, and the answer depends on ceiling access.
Where there's an accessible false ceiling, in-ceiling speakers can often be retrofitted by working through the ceiling void. Where the ceiling is a solid slab or inaccessible, options narrow to wall-mounted or freestanding speakers - which is a different, more visible result.
Invisible plaster-in speakers cannot be retrofitted at all without redoing the ceiling.
The honest position: retrofit works for some rooms and not others, and it's worth a site visit before anyone commits to a scope.
What Goes Wrong Most Often?
Speaker positions decided after the ceiling drawing is frozen. By far the most common, and it compromises both position and finish.
Rack in an unventilated space. Equipment overheats, shuts down intermittently, and the fault is hard to diagnose because it's temperature dependent.
No labelling. Turns a two-day commissioning into a four-day one.
Zone plan that doesn't match how the house is used. Usually because the plan was drawn from the floor plan rather than a conversation about where people actually spend time.
Speakers fitted before painting. Avoidable and irreversible.
FAQs
When should home audio be planned in a construction project?
At the same time as electrical layouts and reflected ceiling plans - before conduit is laid and before the false ceiling design is finalised. Speaker positions have to coordinate with lighting, air-conditioning and sprinklers, and that coordination happens on drawings.
What is the difference between multi-room audio and a home theatre?
Multi-room audio distributes music to zones across a house, controlled per zone. A home theatre is a single room with surround processing and precise speaker placement for film. They're separate systems, though they can share a rack and a control interface.
Can in-ceiling speakers be added to a finished home?
Often yes, where there's an accessible false ceiling void to work through. Where the ceiling is a solid slab, options are limited to wall-mounted or freestanding speakers. Invisible plaster-in speakers cannot be retrofitted without redoing the ceiling.
How many zones does a typical home need?
A 3BHK usually works well with four to six — living and dining, master bedroom, kitchen, study, and a terrace if there is one. Villas commonly run eight to twelve. More zones mean more amplifier channels, which is the main cost driver.
Where should the equipment rack go?
Somewhere with ventilation, power, network access, and room to service it - a utility room, a vented AV cupboard, or a ventilated wardrobe section. Sealed cupboards cause overheating, which is the most common post-installation fault we're called about.
Do I need to buy all the speakers upfront?
No, provided the cabling is run to every position during construction. Cable is the part that can't wait. Speakers, amplification, and sources can be added zone by zone over several years onto infrastructure that's already in place.
How long does commissioning take?
Two to four days for a multi-zone home, depending on zone count and how much control integration is involved. Poor cable labelling during installation is the usual reason it takes longer.
Planning Home Audio?
The decisions that matter — zone plan, speaker positions, cable routes - all happen before anything is visible. Getting them right during design costs very little; getting them wrong is expensive to correct.
If you're building or renovating in Noida, Delhi NCR, Gurgaon, or Jaipur, talk to our team. You can also explore our audio-video and home theatre services, or read our guide on adding architectural speakers.